My Family's Kitchen Renovation
The day is finally here!
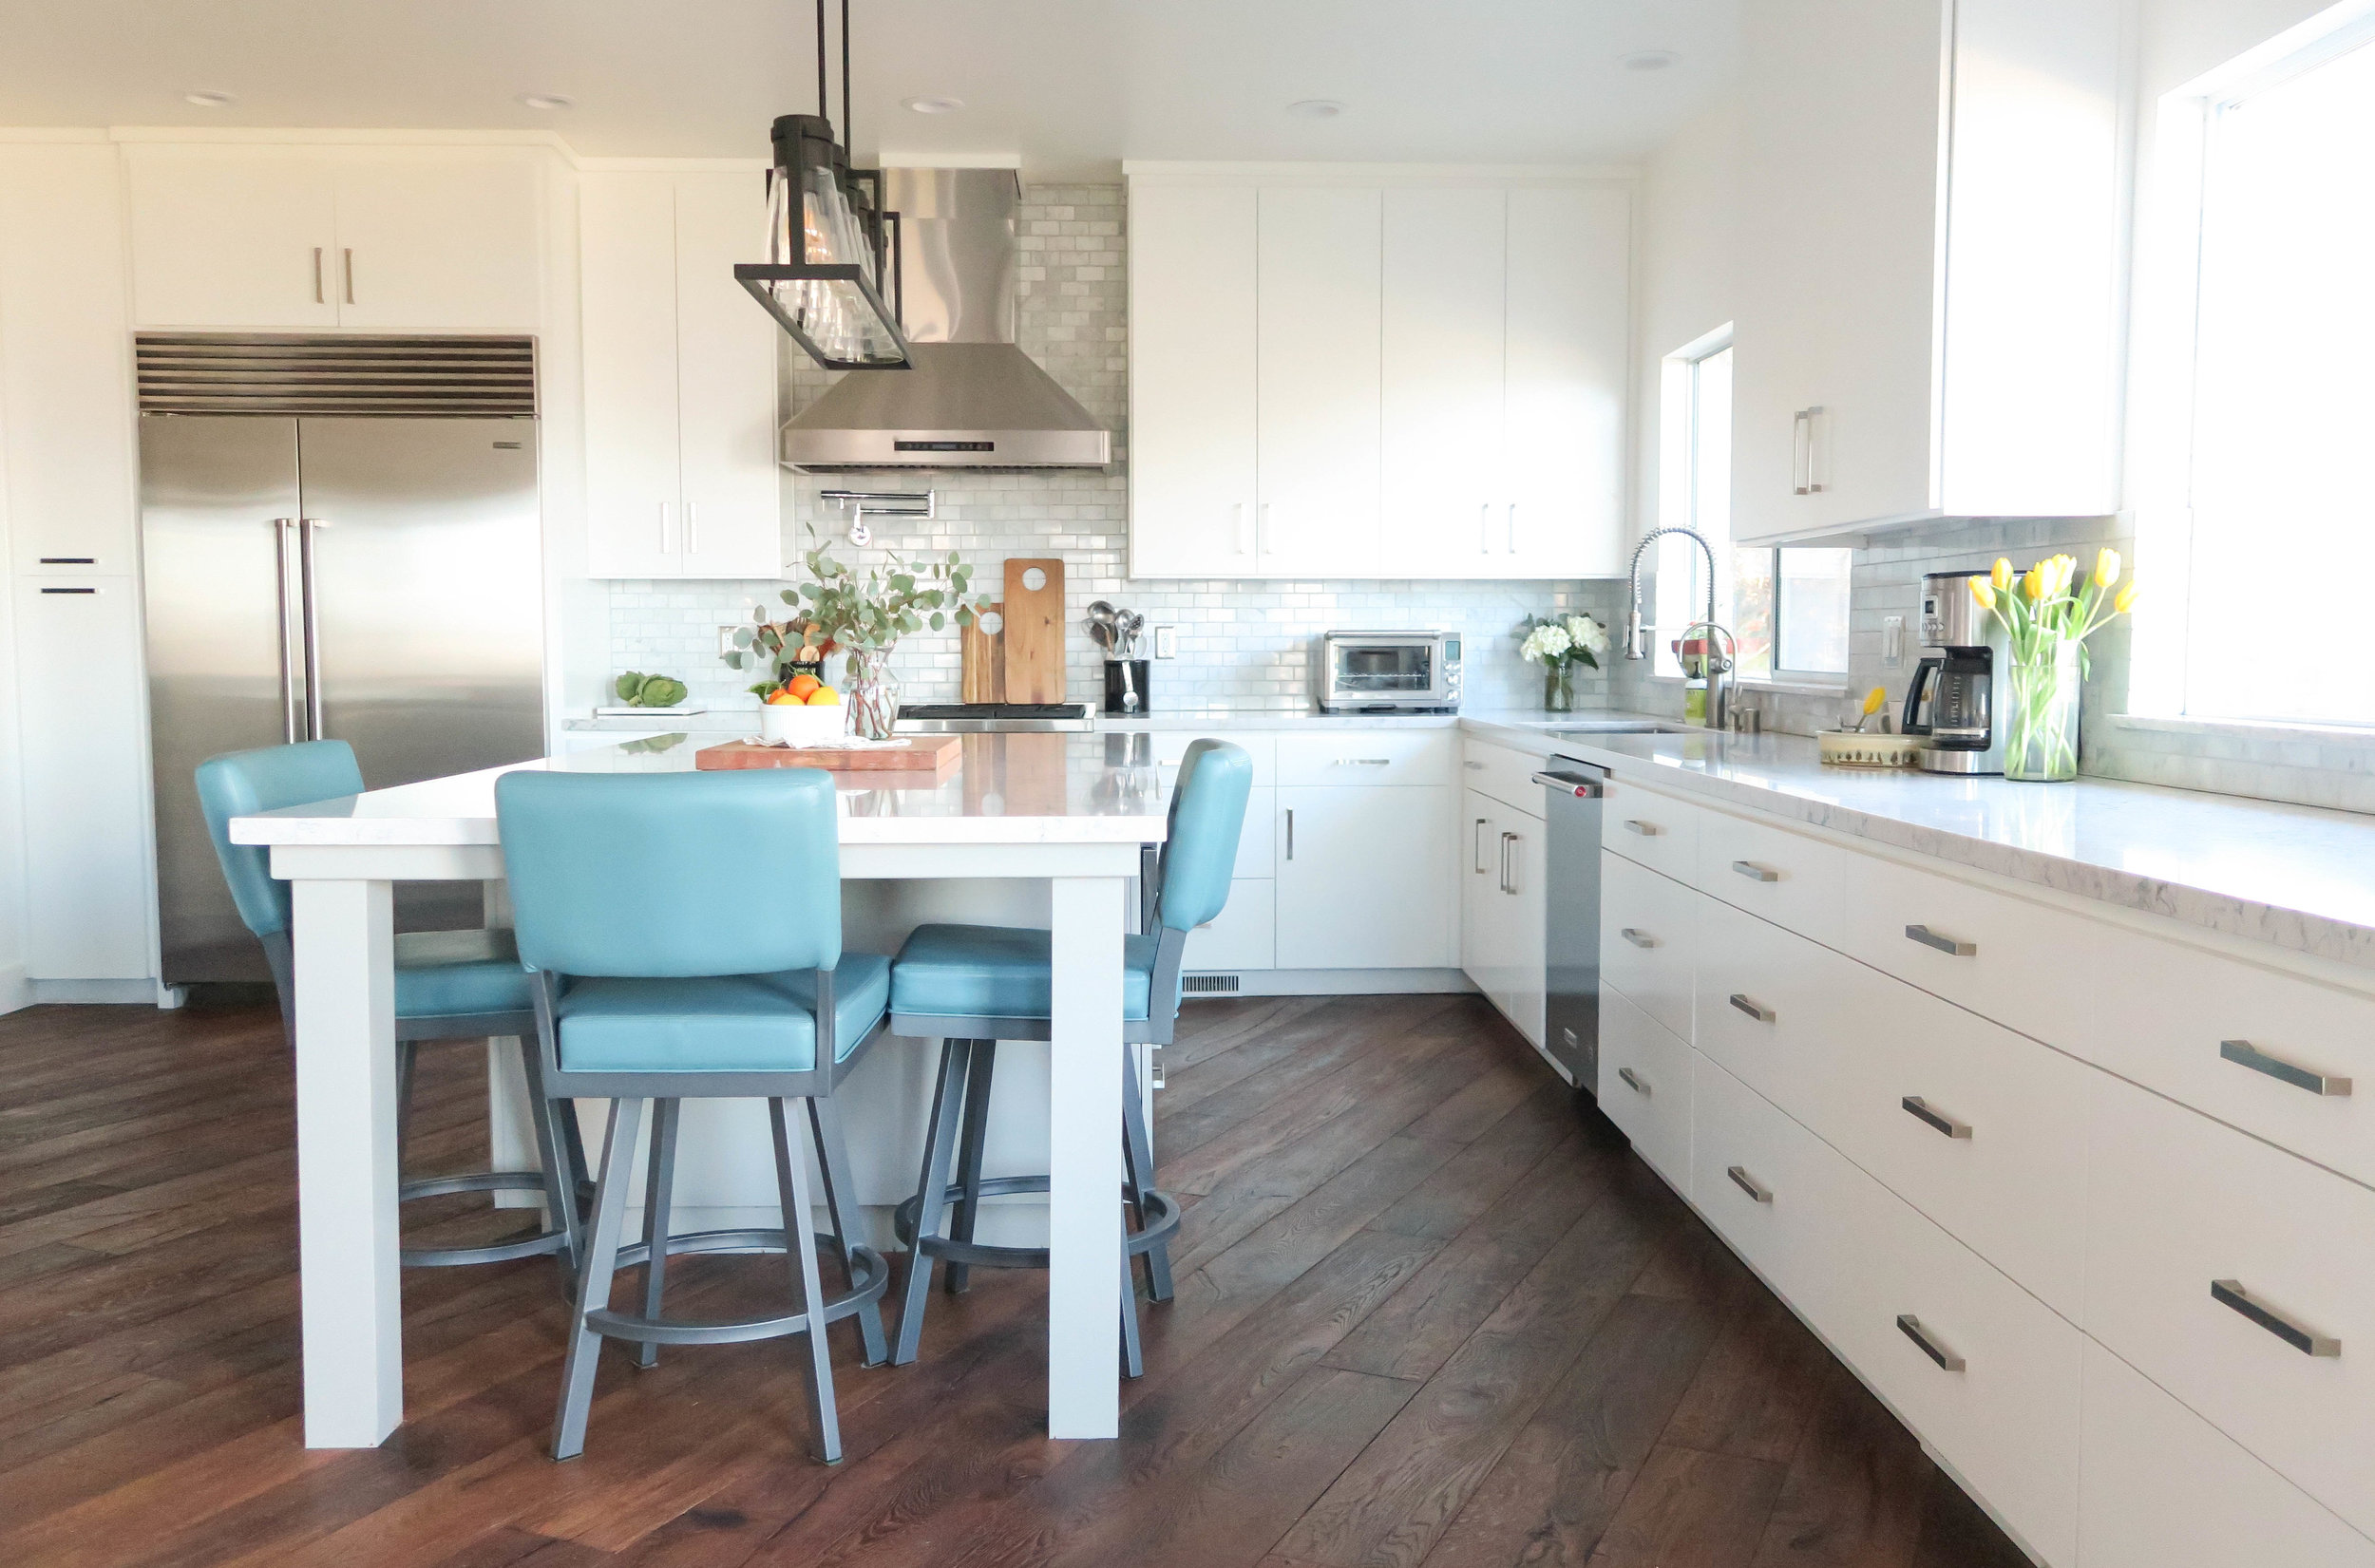
Welcome to my parent's kitchen renovation reveal!! They moved into this house a little over a year ago and it took some time to get settled so I was finally able to take some photo over the holidays.
First a little background story for ya, this wasn't the house my parents were supposed to move into! I was under the impression for um... 10+ years that they would be moving into a different house one street over.
The last year or so before they moved (2015) my dad and I got to work on redesigning the kitchen. The "first house" we will call it was a split level so there was a lot of room for improvement in the layout and we came up with somewhere between 8-10 different options.
This was all until one weekend after the move that my family friends went to visit my parents in their new city. Long story short, my mom's friend spotted a home for sale and they thought it would be fun to tour it. A few hours later, our family's 10+ year plan was flipped upside down!
All of the sudden I needed to scrap my design plans and get to work on redesigning a completely different kitchen. For the rest of the home, there weren't any major changes (mostly cosmetic) and for my family, the kitchen really is the center of the home so it needed to be perfect!
You can't have a renovation without some scary before images right?
Feast your eyes on the former kitchen. Low ceilings, unnecessary walls/corners, and outdated finishes. The home was built in 1991 and all things California Spanish style. I was sad to let the character go (tile, arched doorways, etc.) but knew things wouldn't blend with my dad's vision for the home. He's the cook in our family and had a very specific ideas of what he wanted for the home - especially the kitchen!


Criteria for the kitchen:
White kitchen (added in some gray + black to warm things up)
Update finishes with a modern style
Large island
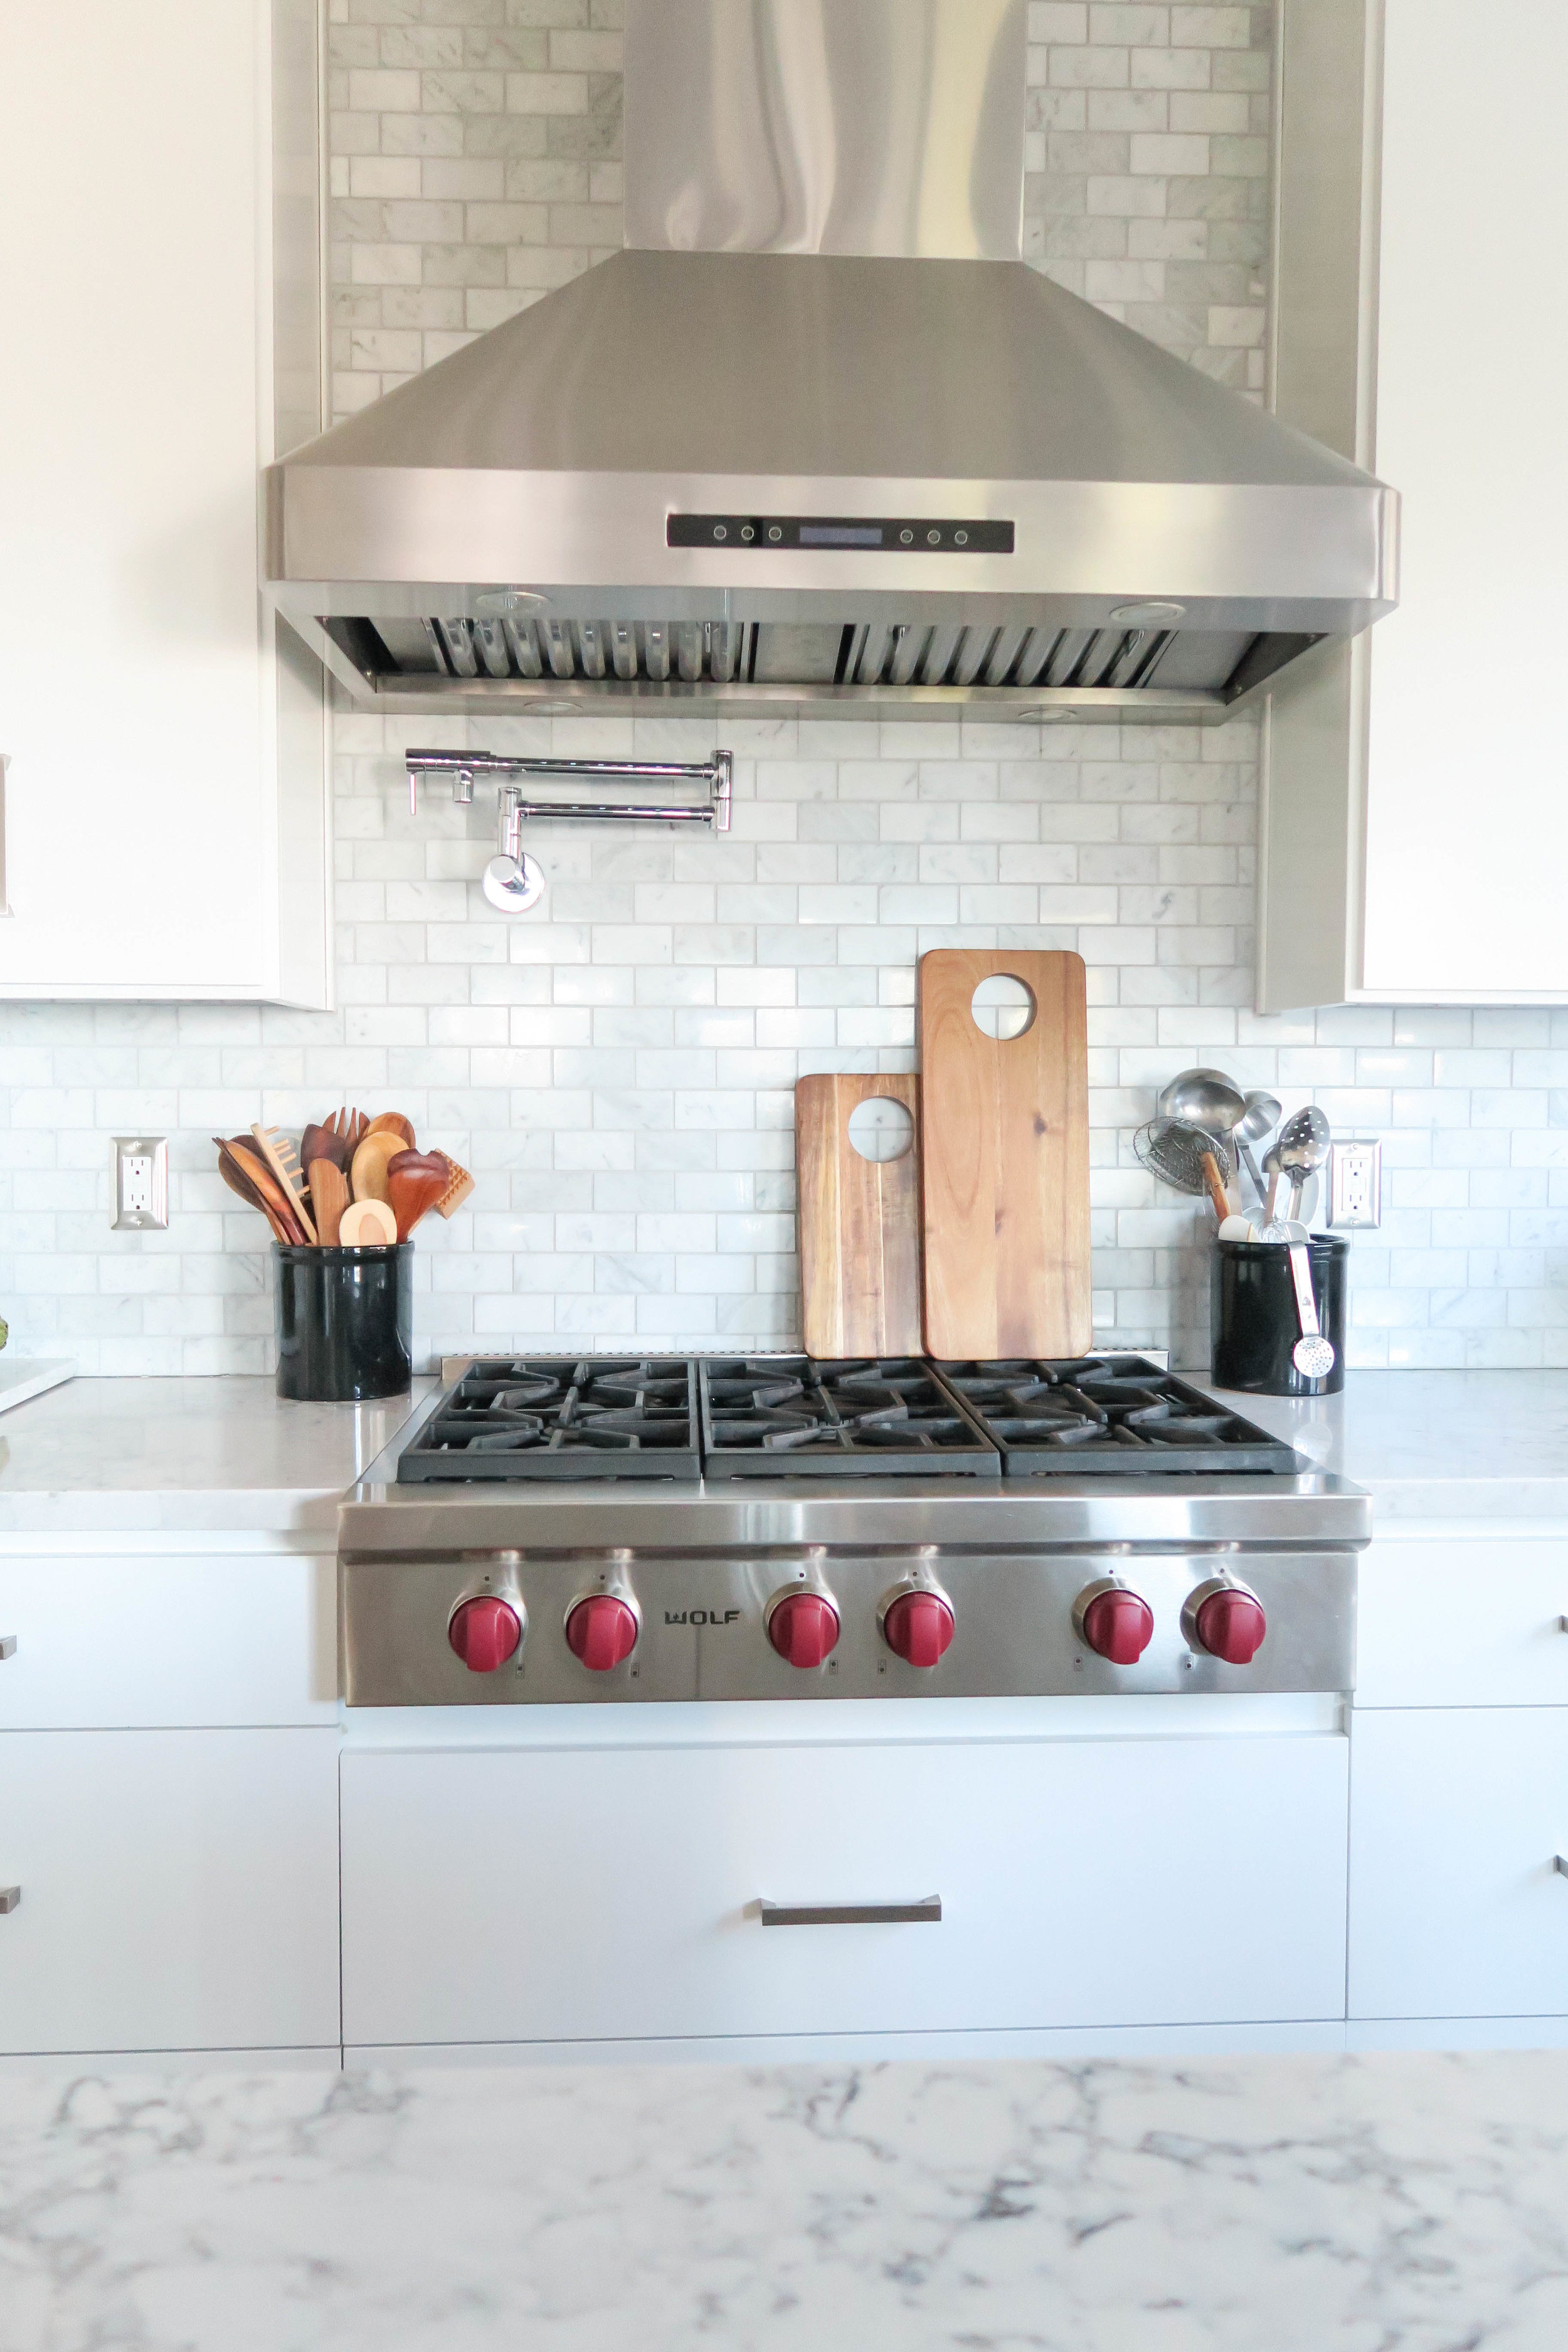
Appliances of my dad’s choosing (no problem there - he knows way more about cooking!)
Pot filler

We decided to go with quartz countertops and a marble backsplash. This gives us the effect of marble without having to worry about wine or tomato stains on the counters.
I did warn my dad to wipe down the behind the stove immediately if something splashed so things can stay bright white!

This view of the kitchen really shows the contrast in the island millwork - hello warm gray!
My family plans to live in this home for a long time so choosing a larger (easier to grab) pull was important for people who want to age comfortably in a space. Small or thin hardware can be difficult to grab if the user has arthritis, loses strength in their hands, or joint issues (which we all do at some point in our lives.)
I could write an entire blog post on the aging-in-place precautions we took in this home but this was the most important one for this space.
Changes we made to the overall layout:
Tearing down the wall between the dining room and kitchen
Widening the opening to the front entry
Extending the cabinetry along the wall 6'
Extending the island 6'
Centering the stove with the island (this should be obvious right?)
Changing the dead-end corner into a walk-in pantry
Moving the ovens to initial pantry location

The kitchen island is where my parents eat most of their meals so we needed the stools to be comfortable and functional. They chose to forgo a standard kitchen table which allowed us to extend the island. Whenever they have dinner guests they simply use the dining room.

Kitchen ideas we ended up scrapping:
Second sink in the island
Barn door over the pantry (this could still happen down the road)
Traditional subway tile backsplash
Leaving the layout as-is
Completely white kitchen

The biggest improvement in the layout was lining up the stove with the island. This seems like an obvious choice but before they were staggered and it made the room feel smaller.

These double ovens are where the pantry used to be. The pantry now sits between the ovens and refrigerator. I would have photographed that area but honestly it just needs a door! ;)

I hope you enjoyed the tour and getting some background information on the process. Working with my family on this renovation was a complete labor of love. The project took almost a year but was completely worth it because we can’t get enough of this kitchen!
No worries, the house is still under construction so there is more to come.
Let me know below if you enjoyed this type of blog post and would like to see more. Thanks for stopping by!
